
How to alter a Studded Gown
I am an tailor + dressmaker that locally offers bridal and special occasion gown alterations in Centennial, CO. I love seeing the transformation of my clients’ gowns fit them like a glove. Everyone deserves to have a gown specialist they trust.
When I was asked to alter this gown, I was beyond excited!! This was me:
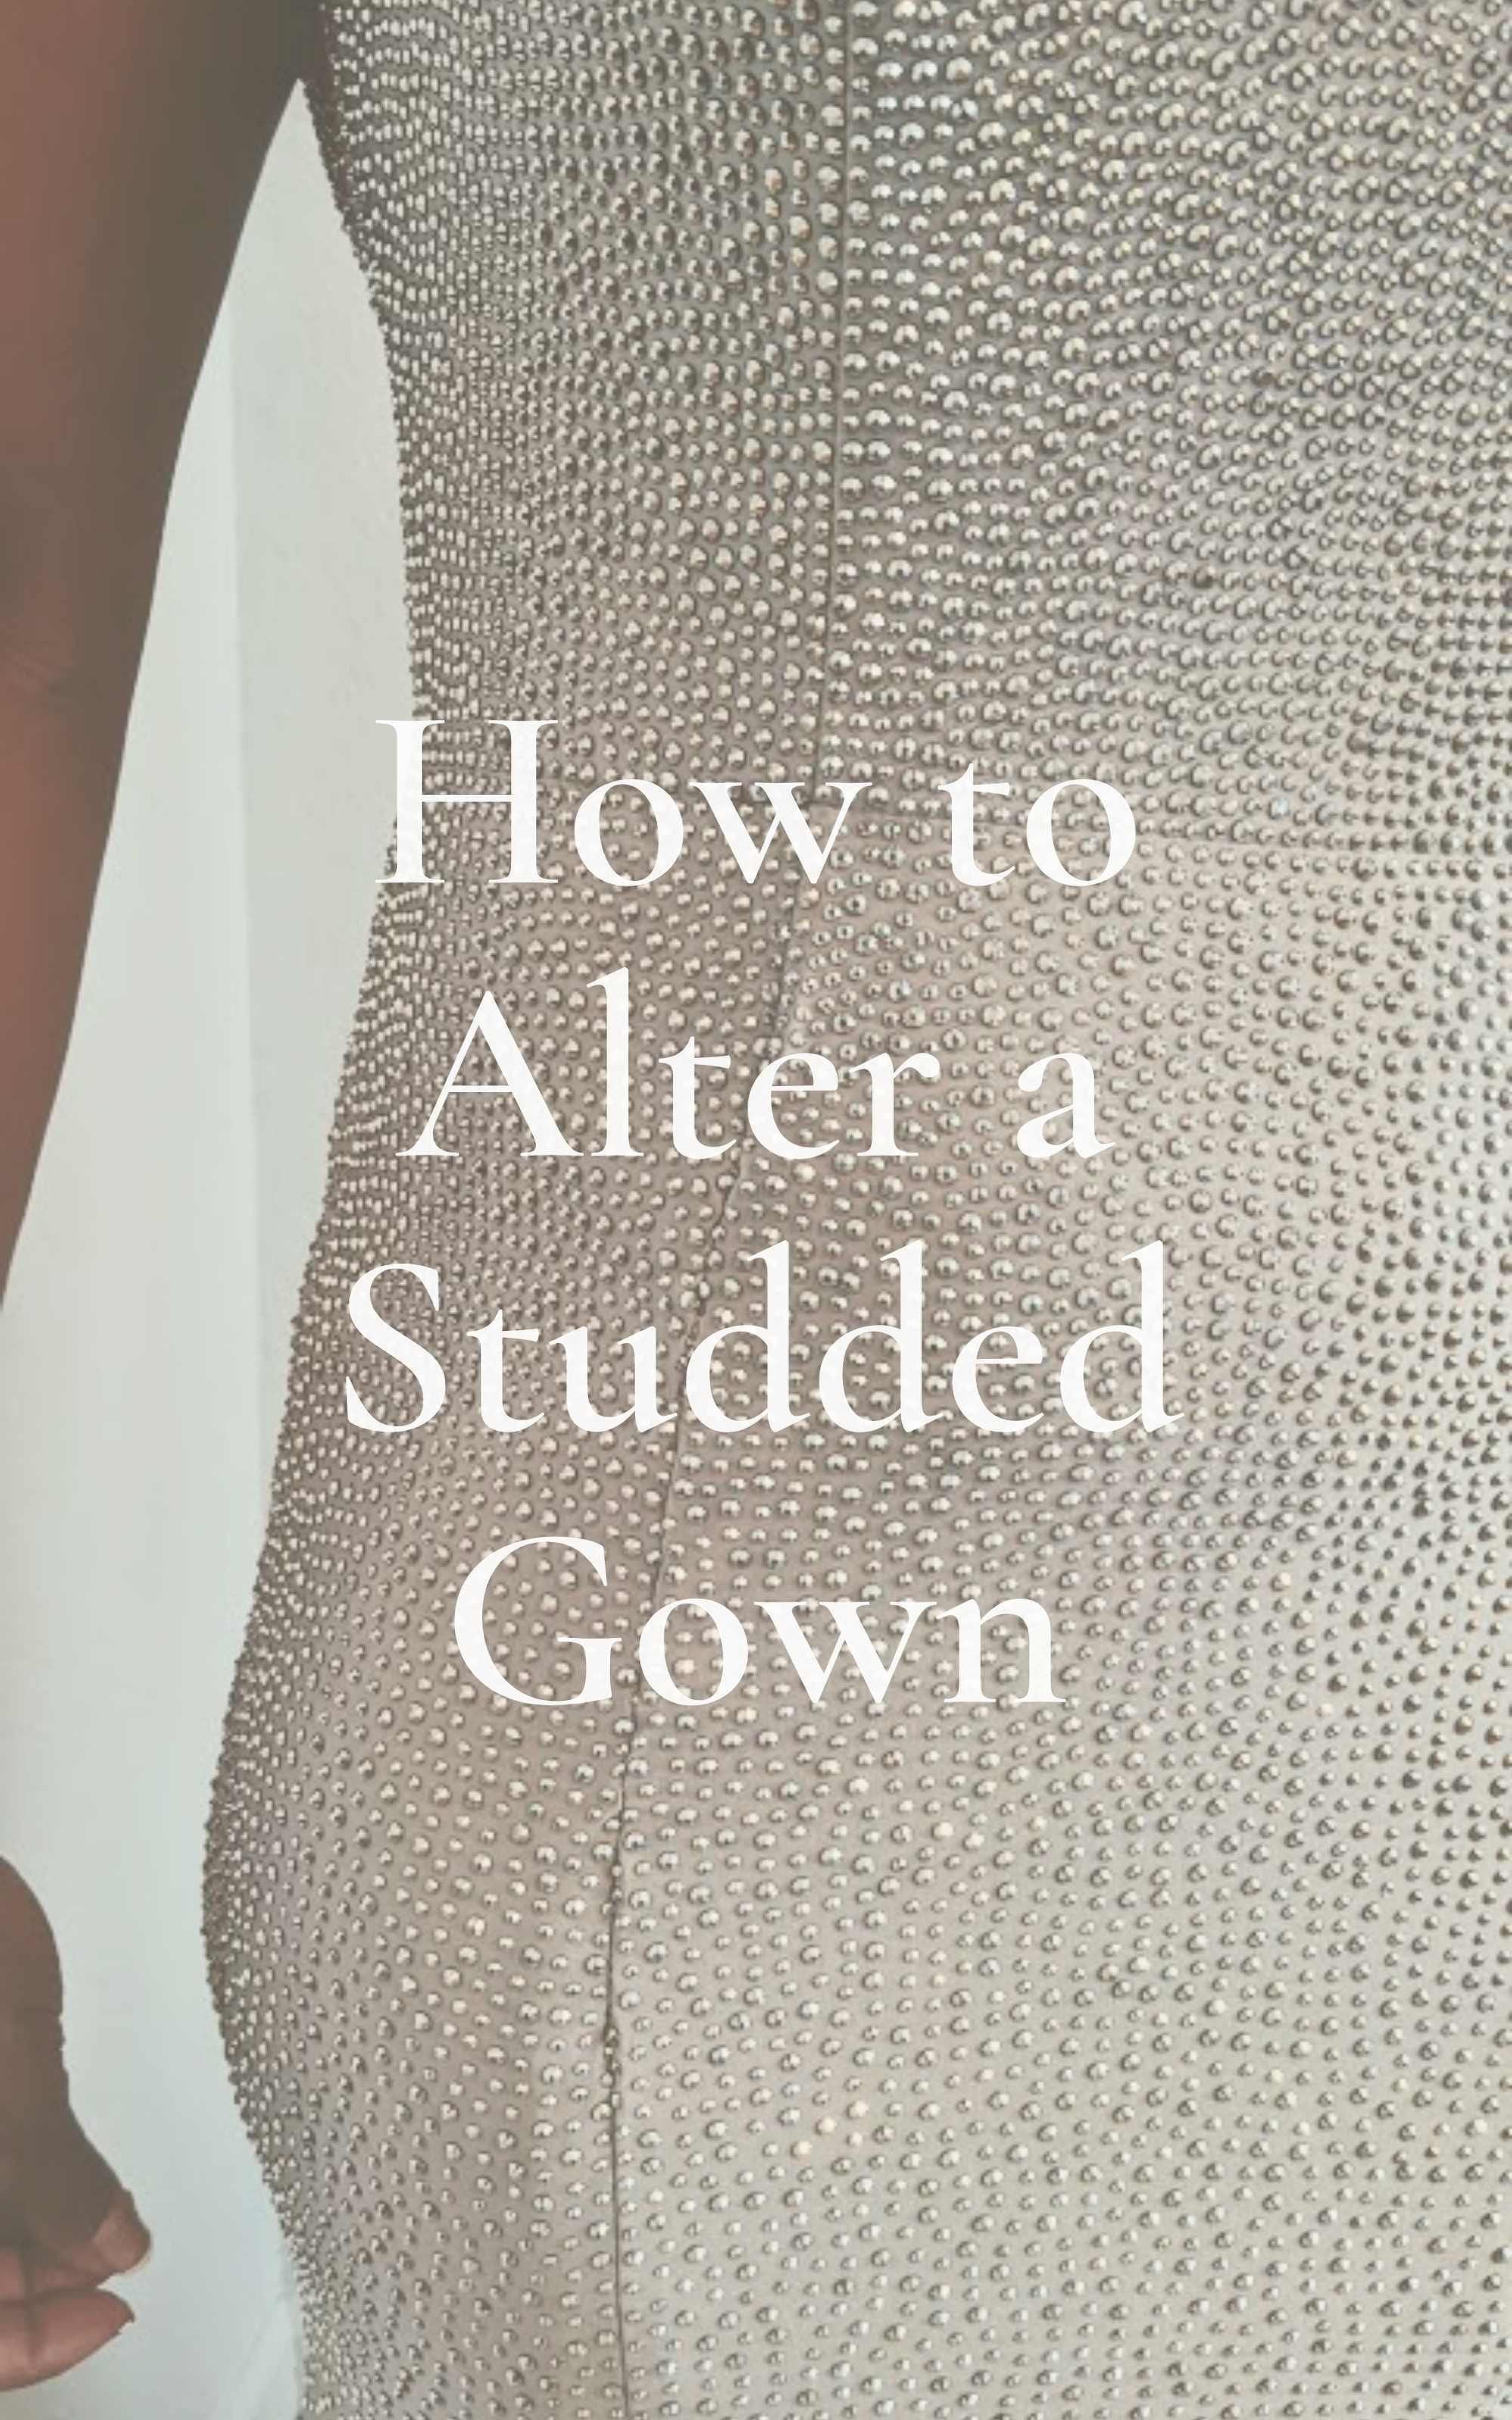
This gorgeous special occasion gown is covered in hundreds of studded rhinestones. (Challenge Accepted!)

The studs on this dress are adhered onto the fabric’s pattern pieces separately before production. Then the dress is stitched together directly along the seam allowances. To get a smooth seamline along the studded skirt panel, I knew this alteration needed more of a finish done by hand. A special gown as this needs to fit like a glove.
Sometimes clients will call for special occasion dress or bridal alterations they can’t find anywhere else, due to how challenging or intensive an alteration may be. As my client had been turned down by other specialists, I wanted to make sure it was finished with the highest level of craftmanship + care imaginable.
THE ALTERATION PROCESS
As seen in the before and after, this gown fits incredibly well around the hips & bodice, but there’s too much fabric around the waist. This is a textbook alteration that can transform off-the-rack into a made-to-measure gem.

For this dress, the zipper is located on the side seam, and luckily the skirt and bodice have gorgeous princess seams, which was the perfect seam along which to alter. On the body, I pinched and pinned the excess fabric along the front princess seams until the skirt laid flat and marked the new seamline with tailor’s pen.

2. After the fitting, I used a ruler & tailor’s pen to even out the new seam lines (pictured).
Then I transferred these lines to the lining, marking both the outer dress and lining seamlines onto the wrong side of both fabrics.

3. Next I stitched the linings along the new seamline I just marked. With a thicker 90/14 needle, I partially stitched along the wrong side of the studded gown, slowly stitching in between the studs when it made sense to do so.

4. Then I handstitched the new seamlines closed, ensuring a smooth curve along the way.

5. Every girl’s gown should be picture perfect, so I finished this alteration by carefully adhering any missing stones individually by hand.

I’m so happy with the results! I finished this dress well before my client’s event in order to have plenty of time for a second fitting. I still can’t believe I got it right on the first try!

Learn more about my Alteration Process and Client Experience. I also offer Clothing Restoration and Custom, Made-to-Order Services. Text or Call for inquiries anytime!